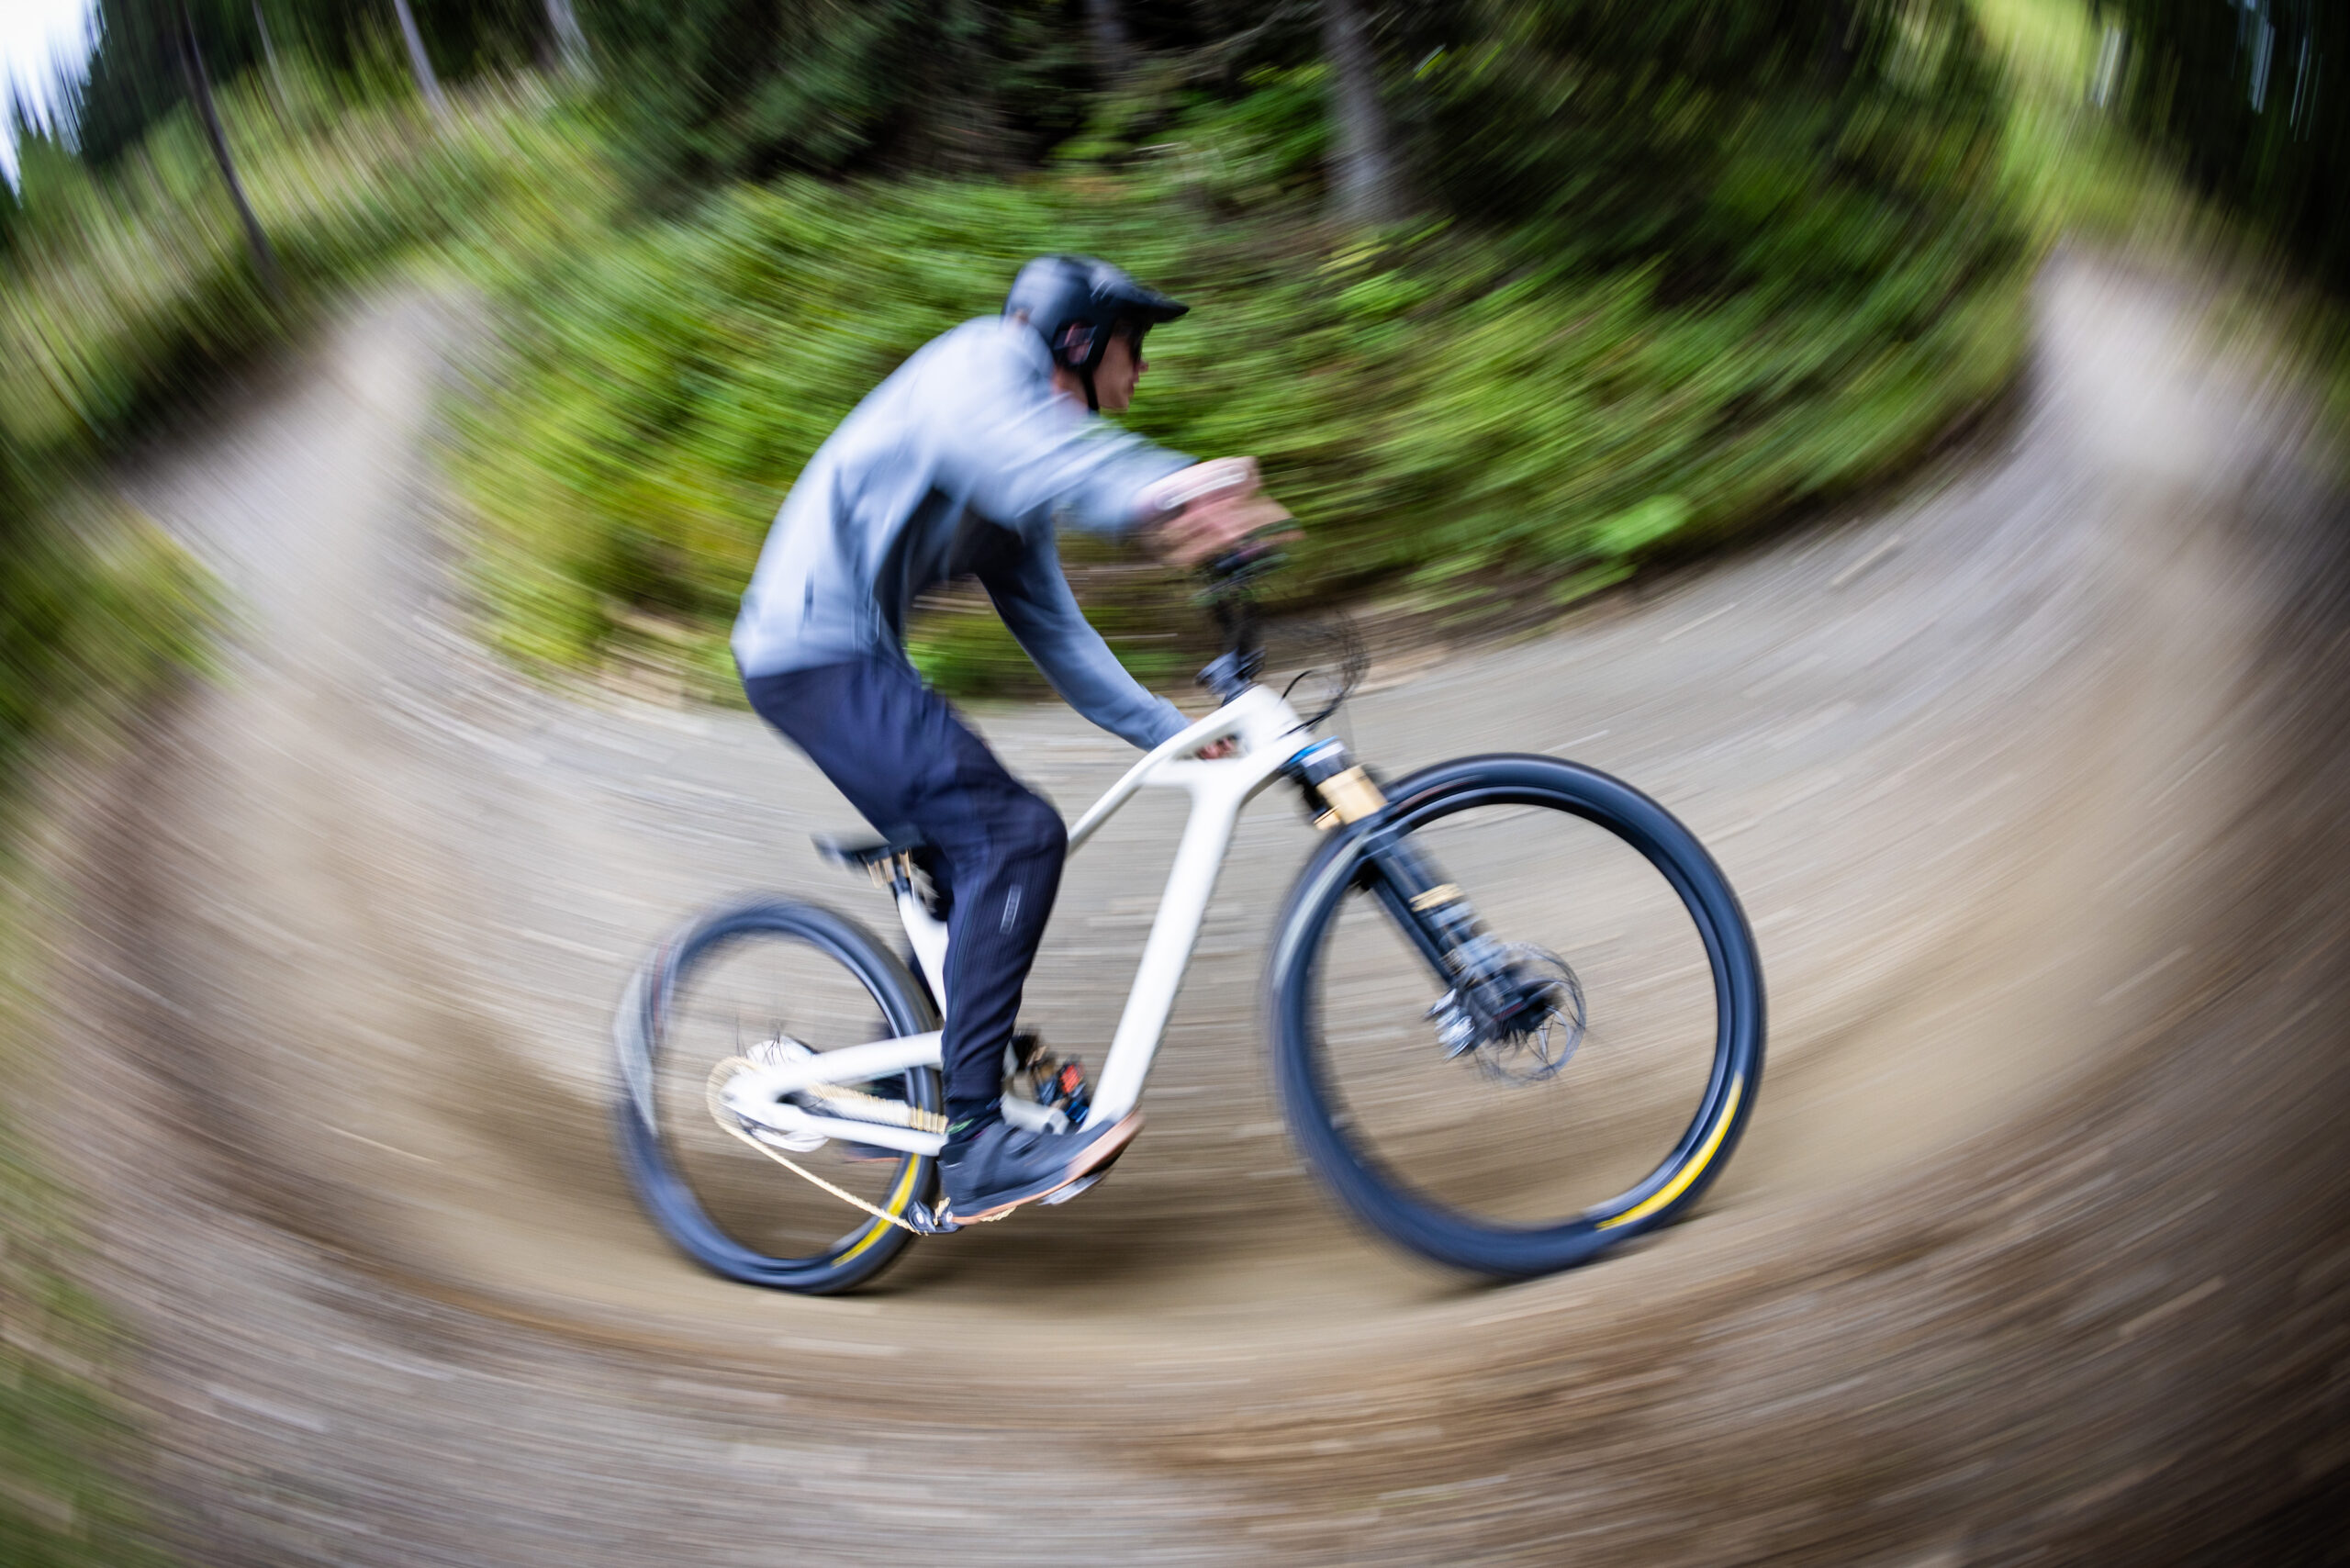
A mountain bike can feel brilliant on paper and completely wrong on trail if the size is off. Too short, and the bike feels nervous and cramped when speeds rise. Too long, and you end up fighting the front end through corners, steep sections, and slow technical moves. If you are wondering how to size mountain bike fit properly, the real answer is not a single chart or a quick inseam formula. It is a combination of body dimensions, riding style, terrain, and frame design.
That matters even more in the premium segment, where geometry is more specialized and performance expectations are higher. A well-sized bike should let you stay centered between the wheels, generate traction without effort, and move naturally when the trail turns steep, rough, or fast. Good sizing is not about standing over a frame in a showroom. It is about how the chassis behaves underneath you once the trail starts asking real questions.
How to size mountain bike fit beyond the size chart
Most riders still start with height, and that is reasonable. Brand size charts are useful for narrowing the field. But height alone is a blunt instrument. Two riders who are both 5 feet 11 inches can need different sizes because one has a longer torso, another has longer legs, and both may ride very different terrain.
The key numbers are reach, stack, effective top tube, seat tube angle, and chainstay length. Reach tells you how long the bike feels when you are standing. Stack tells you how tall the front end is. Effective top tube and seat tube angle influence seated pedaling position. Chainstay length changes weight distribution and how balanced the bike feels front to rear.
Modern mountain bike sizing has shifted heavily toward reach because it gives a more honest picture of cockpit length when descending. That said, reach only works in context. A 480 mm reach on one bike may feel manageable if the stack is generous and the seat tube angle is steep. On another frame, the same reach can feel stretched and demanding.
This is why experienced riders should treat size charts as a starting point, not a verdict.
Start with your body, then your riding
A practical sizing decision begins with three points – your height, your inseam, and your ape index, meaning wingspan relative to height. Riders with a shorter torso and longer legs often prefer a shorter reach than the chart midpoint suggests. Riders with longer arms and torso can usually carry more front-center length without feeling overextended.
Then comes the more important variable: how you ride.
If your riding is steep, high-speed, and rough, you can usually size toward more stability. A slightly longer bike often gives better composure, stronger front-wheel confidence, and more room to move on descents. If your trails are tighter, flatter, and more dynamic, or if you value agility over outright stability, the smaller of two possible sizes may feel better.
There is no universal right answer here. A rider in Colorado or the Pacific Northwest may prefer a different fit than someone riding tighter East Coast trail networks. The same goes for eMTBs versus analog bikes. A powerful eMTB can benefit from stability and front-end calm at speed, while a lighter trail bike may reward a more compact, playful setup.
Reach is central, but not everything
For modern trail and enduro bikes, reach is usually the first geometry number worth comparing. As a rough reference, many riders around 5 feet 10 inches to 6 feet fall somewhere in the high 460s to low 480s, depending on the brand and intended use. But rough references are only useful if you already know what your current bike feels like.
If your current bike feels cramped standing up, drifts off line on steeps, or places too much weight over the rear wheel, a longer reach may improve things. If it feels hard to manual, difficult to weight the front tire in flat corners, or awkward at low speed, the bike may be too long, or the front end too low, or both.
This is where experienced buyers often make the right move: they compare geometry from a bike they know well, not from memory. Look at the current frame’s reach, stack, wheelbase, and seat tube angle. Then compare those numbers to the bike you are considering. That will tell you far more than a generic small-medium-large label.
Stack and front-end height decide a lot of fit feel
Many riders focus on length and ignore front-end height. That is a mistake. Stack has a major influence on comfort, descending confidence, and front-wheel loading.
A lower stack can feel direct and aggressive, especially for riders with good mobility and a racing bias. But too low, and the bike becomes tiring on long rides and difficult on steep terrain because you are pitched too far forward. A higher stack usually gives a calmer, more confident descending position and can reduce strain through the hands and lower back.
This matters for taller riders in particular. Sometimes a bike does not feel wrong because it is too short. It feels wrong because the front end is too low, forcing too much weight into the cockpit. Spacers, bar rise, and stem choice can help, but only within reason. The frame still sets the foundation.
Seat tube angle, seat tube length, and pedaling position
When riders ask how to size mountain bike frames, they often think mainly about descending. But seated fit matters just as much, especially on long climbs and full-day rides.
A steeper effective seat tube angle moves you forward over the bottom bracket and shortens the seated cockpit. That can make a longer reach bike feel more efficient and centered while climbing. A slacker seat tube angle does the opposite and can make the same nominal size feel longer when seated.
Seat tube length also matters because it determines dropper post insertion and standover flexibility. Shorter seat tubes generally give more room to size up if you want more reach without compromising dropper travel. That has become a defining feature on well-resolved modern frames. It gives riders more freedom to choose based on handling rather than old-school seat tube limitations.
If you are between sizes, check maximum dropper insertion before anything else. The bike may look ideal on geometry charts and still fail your fit if you cannot run the dropper depth you need.
Wheelbase and chainstay length affect balance
A bike is not just long or short. It is balanced or it is not.
Wheelbase and chainstay length determine how weight is distributed between the wheels. Longer front-center with very short stays can create a bike that feels stable in one sense but difficult to weight consistently at the front tire. More balanced rear-center length often improves composure and grip, especially for taller riders on larger frames.
That is why copying one geometry number in isolation rarely works. The best bikes are coherent systems. When sizing, think about the whole platform and how it places you between the contact patches.
If you are between sizes, ask what you want the bike to do
This is where real trade-offs appear.
The smaller option usually brings quicker direction changes, easier manuals, and a more compact feel in tight terrain. The larger option usually gives more high-speed stability, more room to move, and greater composure in steep or rough sections.
Neither choice is automatically more advanced. A highly skilled rider may still prefer the smaller size for active, precise handling. Another equally skilled rider may choose the larger size for speed and confidence. Your local terrain, flexibility, and setup preferences all matter.
If you are genuinely on the line between two sizes, do not let ego decide. Longer is not always better. The right size is the one that lets you ride with less correction and more control.
Setup can fine-tune fit, but it cannot rescue the wrong frame
Stem length, bar width, rise, spacer stack, saddle position, and crank length all influence how a bike feels. These adjustments are useful for refinement. They are not substitutes for the correct frame size.
A very short stem cannot fully fix a frame that is too long. Sliding the saddle forward cannot compensate for poor seated geometry. A tower of spacers is usually a sign that the base stack is not right. Fine-tuning works best when the frame is already close.
For premium bikes with advanced geometry and purpose-built suspension kinematics, starting from the correct frame size is even more important. The chassis is engineered to work in a certain dynamic window. If you are outside it, you lose part of what makes the platform special.
The best way to size a mountain bike
If possible, ride the bike. Not around a parking lot. On real trail, with climbing, braking, corners, and at least one section where you naturally move around the bike. Ten minutes of actual trail riding will answer more than an hour of online debate.
If a demo is not possible, collect your current bike’s geometry, note what feels right and wrong, and speak with a specialist who understands frame behavior, not just sales categories. Serious brands that build performance bikes, including INSTINCTIV, tend to approach sizing as a rider support question rather than a generic chart exercise.
The right size should disappear beneath you. You should not be thinking about whether the front wheel is too far away, whether the cockpit is cramped, or whether the bike fights your body position. You should be thinking about lines, grip, speed, and the next section of trail.
That is the standard worth holding. A mountain bike at this level should feel like a precise tool, not a compromise you learn to live with.